Represent the idea
Plans explained measurement, perspective explained appearance, and physical models tested volume. Designers moved among all three.
Start with the editable technique workshop above. Reuse your model in the next lesson. The detailed walkthrough below uses Blender; choose another app using Tool Rosetta and the transfer checklist above.
Grades 7–12 · A map of the whole 3D field
These original Blender tutorials remain available for app-specific practice. Start at the 3D Design curriculum home for the shared foundation and your chosen outcome track; reuse projects you have already built.
0 of 7 lessons complete
Completion is saved in this browser when you finish a lesson.
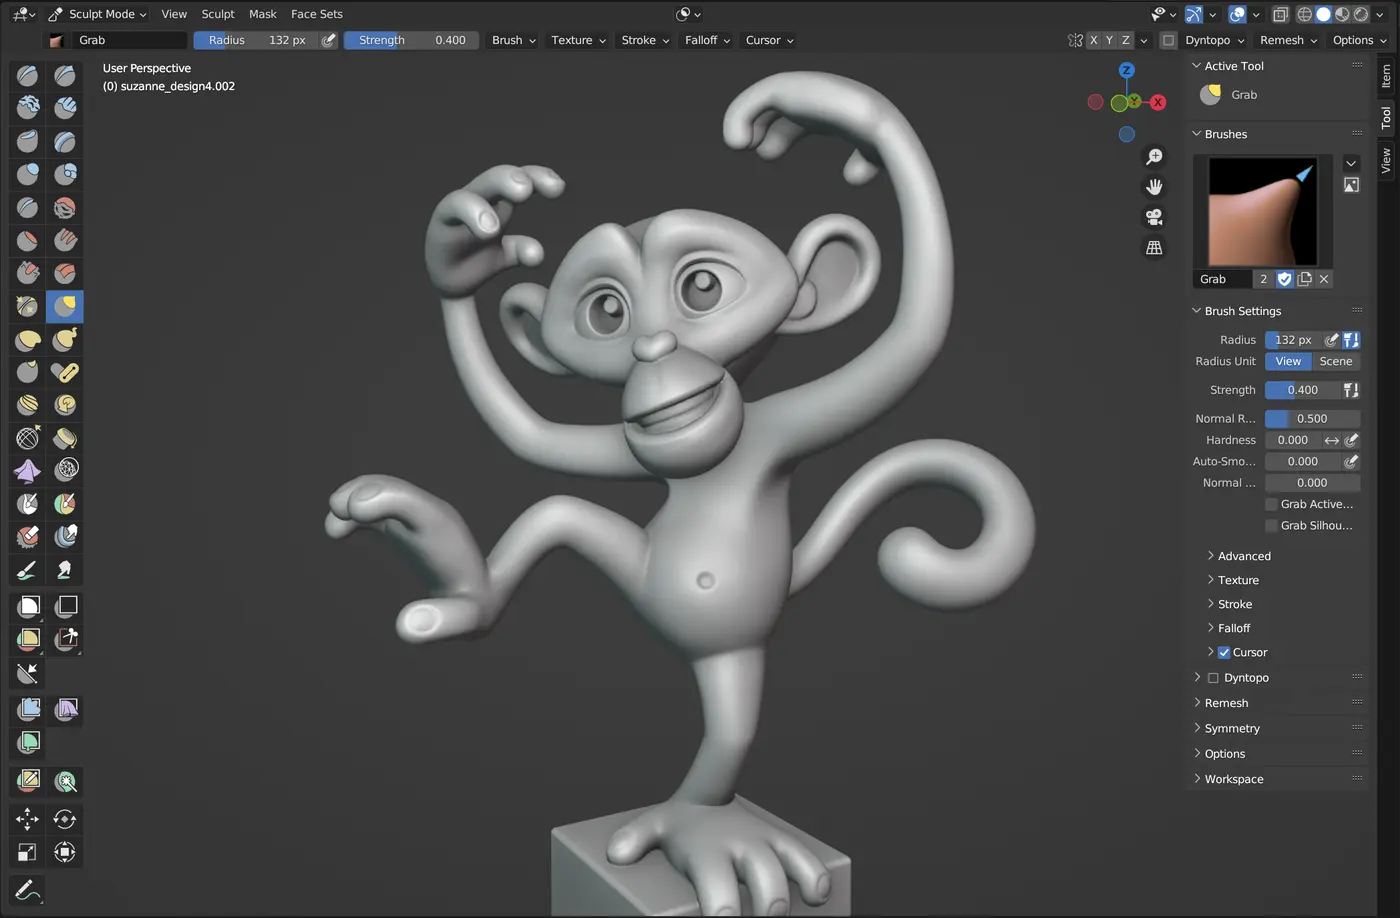
How we learned to design in three dimensions
People have planned objects and spaces with sketches, measured drawings, perspective, geometry, and scale models for centuries. During the twentieth century, computers gradually joined those practices: first as rare research machines, then as professional CAD and animation systems, and finally as accessible tools for classrooms, studios, games, and fabrication.
Plans explained measurement, perspective explained appearance, and physical models tested volume. Designers moved among all three.
Sketchpad showed that a person could draw, constrain, copy, and revise graphical objects directly on a computer display.
3D suites connected geometry to materials, animation, rendering, games, scanning, and machines that manufacture digital designs.
Opening inquiry: What can a physical model tell you that a drawing cannot—and what can an editable digital model test that neither one can?
History sources: Computer History Museum: Sketchpad · Blender Foundation: Blender’s history
One field, many studios
Different tools make different promises. The transferable skill is knowing what kind of model you need, how editable it must remain, and what the next person or machine must do with it. Pick a category below, then use the Blender lessons as a shared vocabulary and a working prototype.
Sketches, constraints, dimensions, features, and a history tree. Best when a hole must stay 8 mm and a design needs revision.
Examples: FreeCAD, Fusion, SolidWorks, Onshape, Shapr3DVertices, edges, faces, modifiers, and topology. Best for props, characters, environments, animation, and general-purpose scenes.
Examples: Blender, Maya, 3ds Max, Cinema 4D, HoudiniBrushes, masks, remeshing, and surface decisions. Best when the design starts as a gesture, creature, face, or physical form.
Examples: Blender Sculpt, ZBrush, Nomad Sculpt, MudboxRules generate geometry, materials, motion, or layouts. Best when one design must produce many controlled variations.
Examples: Geometry Nodes, Houdini, Grasshopper, DynamoObjects carry relationships and building information, not just surfaces. Best for coordinated rooms, buildings, schedules, and documentation.
Examples: FreeCAD BIM, Revit, Archicad, RhinoModels become interactive assets: optimized meshes, UVs, materials, rigs, collisions, lighting, and performance budgets.
Examples: Godot, Unity, Unreal, Roblox StudioLower setup friction makes iteration visible. Great for first sketches, collaborative design, electronics, and fast fabrication experiments.
Examples: Tinkercad, BlocksCAD, SketchUp for Web, SplineSome tools prepare a design for a machine or medium: slicing, laser cutting, CNC, scanning, XR, or resin and filament printing.
Examples: PrusaSlicer, Cura, Meshmixer, RealityCapture, OpenSCADCan you explain the same design in three ways: “a 20 mm constrained hole” in CAD, “a cylindrical Boolean cutter” in a polygon modeler, and “a printable wall opening” in a fabrication tool? That translation — not memorizing one interface — is the point of this pathway.
Choose by outcome
The project routes below are software-independent outcomes. This folder gives you a Blender implementation, but the same brief can be completed in a CAD, browser, sculpting, BIM, or game tool. Keep the design brief and success criteria; translate the commands.
Full pathway: complete Lessons 01–07 in order for the broadest foundation.
7 lessons · 0 complete
Start this route →Tutorial library
New to 3D? Complete these in order. Your selected route is marked below. Each lesson ends with a checklist: check your work in Blender, then mark it complete.
Studio protocol
Reading or watching can make a tool feel familiar without making it usable. Every tutorial in this pathway follows the same four-beat studio loop.
Find the menu path, shortcut, and picture for one small step.
Switch windows and perform the move before reading ahead.
Match the silhouette, dimensions, Outliner, or modifier settings shown.
Use the rescue notes; undo only to the last working version.
Ctrl+S after every working step. Use Ctrl+Shift+S to save a new numbered version before a risky change.
Double-click objects and collections in the Outliner to rename them. "Cube.004" six layers deep will cost you ten minutes later.
Keep Blender's default unit as 1 meter and build to real-world dimensions. Scale mistakes compound the moment you add a second object.
Modifiers and transforms stay editable until you apply them. Apply scale and rotation (Ctrl+A) before exporting or rigging.
Keep one project folder per lesson: blender-lessons/01-interface/, 02-windows-doors/, and so on. Save reference images inside an reference/ subfolder so relinking never breaks.
Muscle memory
Lesson 1 teaches these from zero. Bookmark this section — every later lesson builds directly on top of it instead of repeating it.
Just-in-time references
Do not try to memorize the entire manual. Use these official sources when a lesson leaves you with a specific question, then return to your project and test the answer.
Current text, images, and short videos for interface, modeling, UVs, rigging, shading, rendering, and workflow.
OFFICIAL REFERENCEBlender ManualSearch the exact tool or panel name when you need a deeper explanation or a setting has moved.
OFFICIAL SUPPORTSupport & bug reportingCommunity help, documentation, troubleshooting, and the correct path for reporting a reproducible Blender bug.
Check your installed Blender version and follow the named editor, mode, and menu path. The setting audit records the lesson settings and their official references.
The pathway does not use generated texture, skybox, or model files. Its imported classroom character is already CC0, and its Blender screenshots are authentic captures from official documentation. For new project assets, start with these verified CC0 libraries instead of generated imagery.
Photoscanned PBR textures, photographic HDRIs for world lighting and skyboxes, and production-ready 3D models. Poly Haven explicitly excludes generative AI from asset creation.
CC0 · GAME READYQuaterniusStylized characters, animation libraries, props, vehicles, and environment kits in Blender- and engine-friendly formats.
CC0 · CLASSROOM FRIENDLYKenney game assetsLarge collections of clear, lightweight 2D and 3D game assets. Every asset-page download is public-domain licensed.
Final challenge
Following a focused route? Present the asset you built with a material, lighting, and one saved render. For the full seven-lesson challenge, open a new file and combine everything: place your window in a wall, your chair in the room, your character standing in it, and your prop in the character's hand. Light it and render one final image.