Build the illusion
Reusable flats and stock pieces created many places without constructing every wall from scratch.
Start with the editable technique workshop above. Reuse your model in the next lesson. The detailed walkthrough below uses Blender; choose another app using Tool Rosetta and the transfer checklist above.
Environment Art · 55–70 minutes · Grades 7–12
A whole level modeled as one giant mesh is slow to change and impossible to reuse. Build a small set of wall, floor, and doorway pieces on a fixed grid instead, snap them together, and place your window and chair inside.
Finish line: a small lit room built from reusable modular pieces, with your window and chair inside it.
From stage flats to modular worlds
Theatre crews, architects, model-railroad builders, and filmmakers learned to suggest a much larger world with repeatable walls, columns, flats, and props. Computer scenes inherited that logic: build a dependable module once, then instance it to create space quickly and consistently.
Reusable flats and stock pieces created many places without constructing every wall from scratch.
Digital blocks and instances let one source object appear many times and update together.
Modular kits help games and virtual spaces balance visual variety, memory, and rendering speed.
Notice the tradeoff: How few modules can create a room that still feels intentional rather than repetitive?
History connection: Computer History Museum: masters and instances in Sketchpad
Kit
Minimum viable set
A 2m × 2m grid cell is a common, easy-to-count choice for a small room.
A floor tile, a solid wall panel, a wall panel with your Lesson 02 window, and a doorway panel.
Every wall piece must share the same width and height so a solid panel and a doorway panel are interchangeable.
Snapping
Let Blender do the alignment
Use 3D Viewport header → Snapping (magnet) → Snap To → Increment, or press Shift+Tab to toggle snapping. Every grab, rotate, and scale now jumps to clean values instead of landing at 2.0473m.
Snap mode
Snaps moves to the viewport grid, or to a fraction of it while holding Shift for finer control.
Snap mode
Snaps directly to another object's vertex — useful for lining up a doorway piece exactly against a wall's edge.
See the grid
3D Viewport header → Viewport Overlays popover → Guides → Grid Grid scale follows scene units and zoom; use the Sidebar's Item → Transform values for an exact module size.
Assemble
Reuse, don't remodel
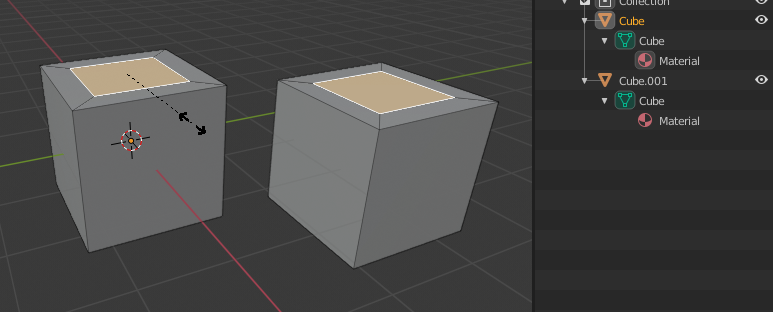
Press Alt+D instead of Shift+D while the kit design is still changing. Linked copies share one mesh — editing any one edits them all at once.
Once a piece's design is locked, select it and choose Object → Relations → Make Single User → Object & Data so future edits don't leak to every copy.
Outliner → right-click empty space → New Collection, then drag floor, wall, and prop objects into named groups. A tidy Outliner is the difference between a five-second fix and a ten-minute hunt.
Light
Make the form visible
Parallel rays
Acts like distant daylight through your window — direction matters, position does not.
Radiates outward
A bare bulb, radiating equally in every direction from one location.
Soft, directional
Simulates a window or a lamp panel — soft shadows, size and shape both matter.
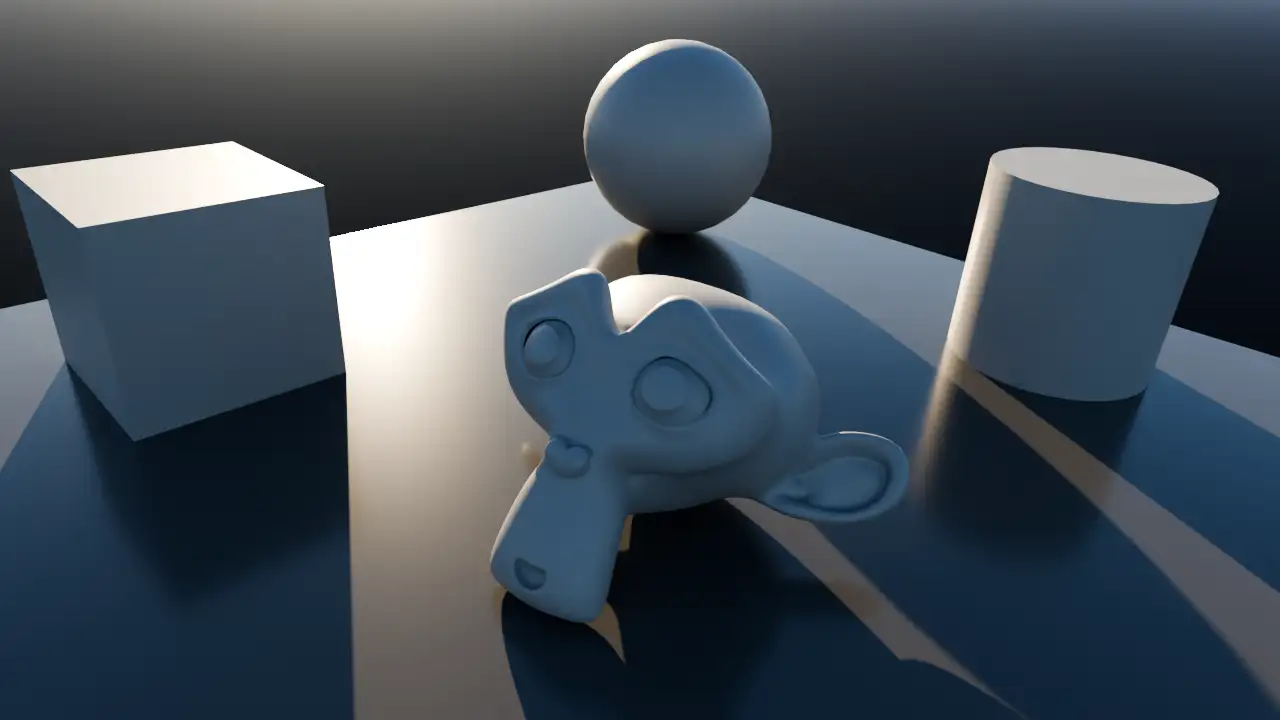
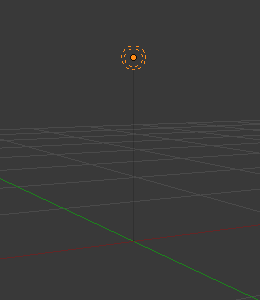
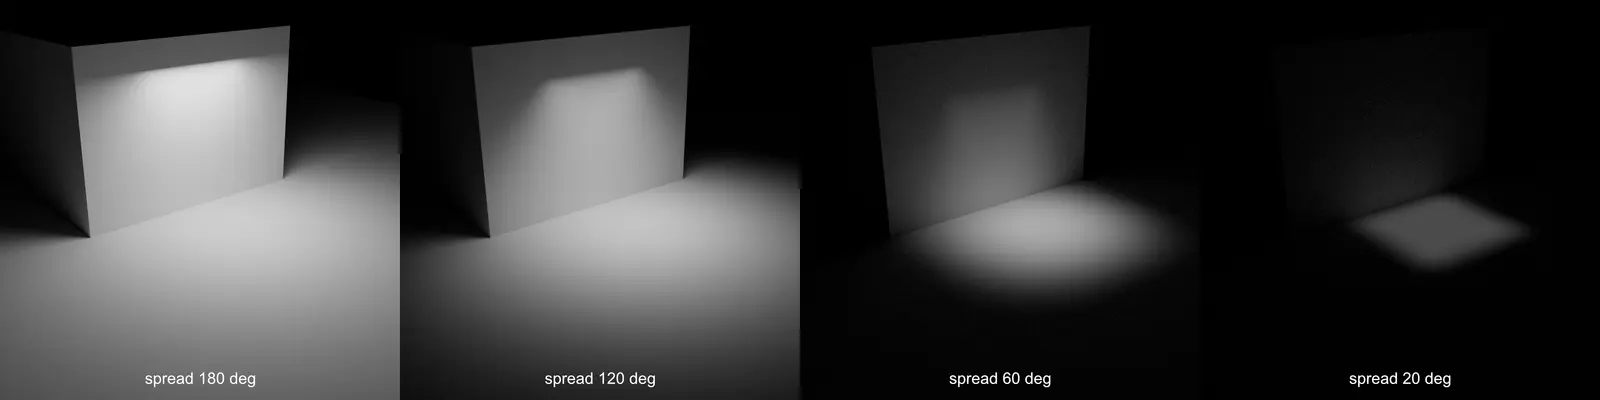
Add it with 3D Viewport → Shift+A → Light → Sun. Rotate it so its rays pass through your Lesson 02 window. Change Strength at Properties Editor → Object Data Properties (green bulb) → Light → Strength.
Build
Hands on
Use 3D Viewport header → Snapping (magnet) → Snap To → Increment and turn on Absolute Grid Snap. This ensures pieces lock perfectly to the 1m or 0.1m grid.
Model one floor tile at exactly 2m × 2m (use Item Transform to check), then Alt+D duplicate it into a rectangle of at least 3×3 tiles.
Model one solid wall panel (e.g. 2m wide, 3m tall). Duplicate it around the floor's perimeter. Move objects along axes using G then X, Y, or Z while holding Ctrl to snap.
Use File → Append to bring in your 1.2m x 1.2m window from 02-window-module.blend. Swap one wall panel for a wall with a boolean hole, and place the window inside. Leave one gap as an open doorway.
File → Append your chair from 03-chair.blend (remembering the 0.45m seat height). Set it on the floor at a believable scale next to your 1.7m reference cube.
Group your objects into named Collections (e.g. "Architecture", "Props", "Lights"). Add a Sun light angled through the window.
Teacher Checkpoint: Show me your organized Outliner with Collections, and prove that one wall corner snaps perfectly together.
Check
Exit ticket
Definition of done