Views and dimensions
Plans and sections described shape precisely enough for another maker to reproduce it.
Start with the editable technique workshop above. Reuse your model in the next lesson. The detailed walkthrough below uses Blender; choose another app using Tool Rosetta and the transfer checklist above.
Hard-Surface Modeling · 55–70 minutes · Grades 8–12
A hand tool is unforgiving: every flat face, drilled hole, and hex bolt has to read as precise. Push your Boolean skills from Lesson 02 further and finish with the shading fix every hard-surface model needs.
Finish line: a clean hand tool — hammer, wrench, or screwdriver — with crisp, evenly lit hard-surface shading.
From technical drawing to hard-surface model
A wrench, camera, or science-fiction prop looks complicated only until it is decomposed into housings, shafts, holes, fasteners, and softened edges. Mechanical drawing standardized how those parts were communicated; solid modeling and polygon modeling made the same construction editable in three dimensions.
Plans and sections described shape precisely enough for another maker to reproduce it.
Primitives, profiles, cuts, and fillets turned manufacturing logic into an editable sequence.
Bevels and surface normals help a low-detail model read as machined under virtual light.
Decompose it: Before modeling, name the three simplest solids that could explain most of your prop.
History source: Computer History Museum: early interactive computer-aided drawing
Plan
Pick a tool with clear parts
Cylinder handle, boxy head, a claw made from two curved prongs.
A flat bar with a hex-shaped cutout on one or both ends.
A cylinder handle, a thin shaft, and a flat or cross-shaped tip.
Cuts
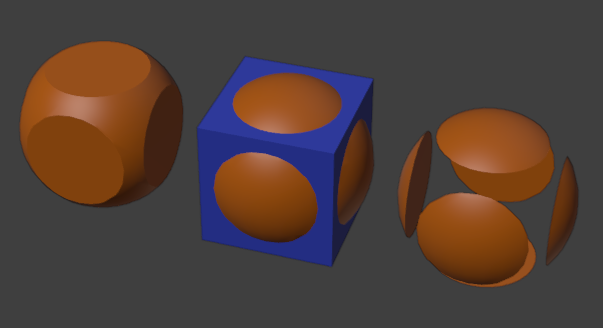
Booleans, one level further
Lesson 02 cut a rectangular window opening. Hard-surface props usually need round or hex cuts — bolt holes, a wrench's gripping socket, a hanging hole in a handle.
Shift+A → Mesh → Cylinder, with enough sides (16–32) to read as round, or set to 6 for a hex socket.
Apply scale on both objects, then use Properties Editor → Modifiers (wrench) → Add Modifier → Generate → Boolean. Set Operation to Difference and Object to the cutter.
You can add several Boolean modifiers to one object — one per hole. Keep each cutter as a separate, named object so you can adjust one hole without disturbing the others.
Shade
The hard-surface shading fix
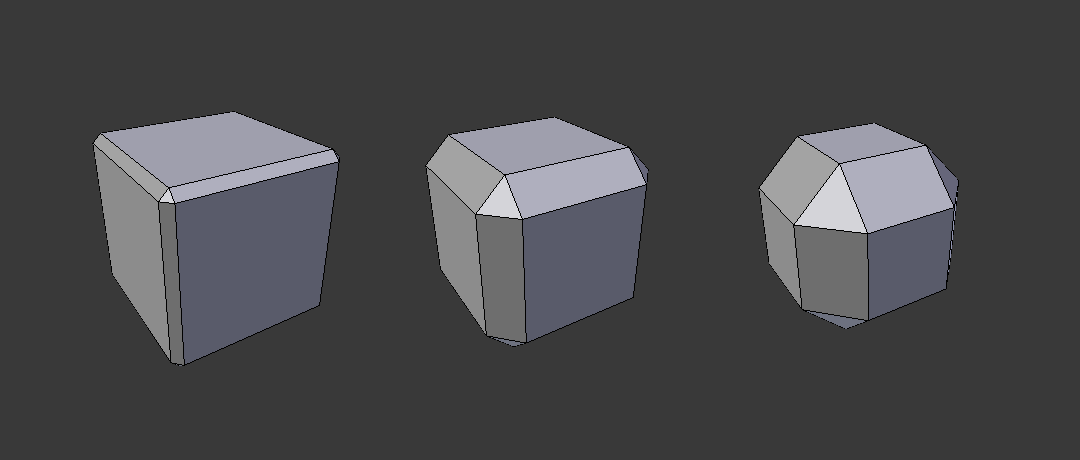
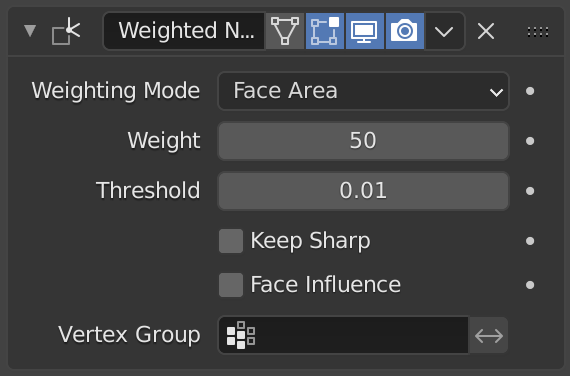
Smooth by Angle can still leave dark pinches where a beveled edge meets a large flat face. A Weighted Normal modifier recalculates normals based on face area and angle.
Round the edges
Small width, 2–3 segments, Limit Method set to Angle so flat faces stay flat.
Fix the shading
Add after Bevel. It recalculates smooth shading based on face area, removing dark pinching that Smooth by Angle can leave on hard-surface bevels.
Give it wall thickness
Turns a flat surface into a real solid shell with a set thickness — useful for a wrench's flat bar profile.
Build
Hands on
In Object Mode, add a Cylinder handle (Radius: 0.02m, Depth: 0.15m) and a boxy head (0.1m × 0.04m × 0.04m). Position them together.
In Object Mode, add a new Cylinder (Radius: 0.005m, Depth: 0.1m) to use as a cutter. Position it through the handle. Select the handle, add a Boolean modifier (Difference), and select the cutter object.
With the tool selected in Object Mode, use Properties Editor → Modifiers (wrench) → Add Modifier → Generate → Bevel. Set Amount to 0.002m and Segments to 3.
Use Properties Editor → Modifiers (wrench) → Add Modifier → Normals → Weighted Normal. Drag it below Bevel in the modifier stack.
Fix
Common hard-surface bugs
Did you apply scale? Select both objects, Ctrl+A → Scale. Or check if the cutter's normals are flipped.
If you have many Boolean cutters, Blender might slow down. Hide cutters in the viewport when not actively placing them.
Boolean operations can create n-gons (faces with more than 4 sides). The Weighted Normal modifier helps hide this, but avoid placing cuts directly on edges or corners of the base mesh.
Increase its vertex count (16–32) when creating the primitive — a low-poly cutter carves a low-poly hole.
Check
Exit ticket
Definition of done