What color is it?
Record broad color variation without painted lighting or deep shadows.
Inspect these three maps from the same CC0 material. Ask what each tells the renderer and what it cannot tell the renderer.
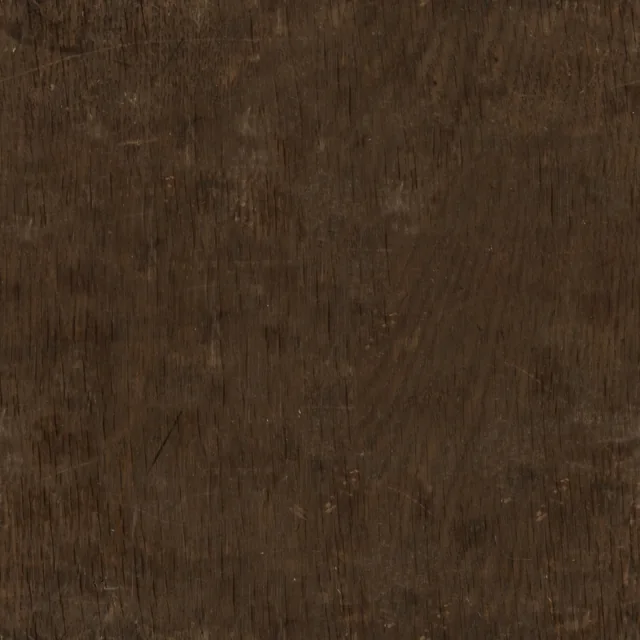

Start with the editable technique workshop above. Reuse your model in the next lesson. The production workflow below extends the browser exercise and helps you test work made in your chosen app.
Lesson 01 · 60 minutes · Surface design
A texture is not decoration pasted onto a model. It is evidence: color, roughness, tiny height changes, wear, and scale tell the player whether a surface is wood, steel, cloth, stone, or plastic.
Material observation
Record broad color variation without painted lighting or deep shadows.
White is usually rough; black is usually smooth. Fingerprints and wear create variation.
Use surface relief smaller than the silhouette. Large shape changes belong in geometry.
Patterns from working artists
Establish color, reflectivity, and scale before adding age. Arkane’s Deathloop team keeps the core, alteration, wear, and dirt in separate passes.
Large forms identify the material at a distance, medium variation breaks repetition, and small detail rewards a close look.
Tileable layers do the repeatable work. Masks and hand painting remove generic marks and place unique evidence where the story needs it.
Hands polish contact zones, impacts expose edges, and moisture settles low. Roughness often tells this story better than extra color noise.
Field sources: Arkane’s layered pipeline · Bell Island’s big–medium–small rule · procedural + hand-painted workflows
No visible borders
wall_plaster_basecolor.png, wall_plaster_roughness.png. Material storytelling simulator
Choose an object brief, build a seamless material, and place wear where contact, impacts, or moisture would actually occur. Inspect the result as data and under a moving light.
Goal: remove the seam, match the pattern scale, choose cause-based wear, and inspect every map plus the repeat.
Material test · any 3D app
Pattern scale changes with the object. Apply scale and inspect UVs.
Pattern size stays intentional and the material reads at game distance.
Pipeline judgment
Studio deliverable
material_name_basecolor.png + roughness + optional normalInclude a test scene from your app or engine (or the Bench's test cube) and a screenshot of the 3 × 3 repeat. Create a clean and worn version using the same base material. Change where wear would physically occur—edges, handles, feet, or traffic paths—not random noise everywhere.
Any paint app → Bench → any engine
Paint, photograph, or generate the surface in whatever app you use (Krita, GIMP, Photoshop, Photopea, Procreate, Aseprite, Substance), export a .png, and drop it below. The Bench checks size and seams against your studio brief, evens out photo lighting, makes it tile, nudges colours toward your palette, and builds roughness and normal maps. Download the maps, or a 2 m test cube .glb that opens in any engine.
Where is export (and re-import) in your app? Pick your apps below; your choice is remembered across lessons.
Public-domain starter shelf
These libraries publish reusable assets under CC0. Poly Haven also states that its textures, HDRIs, and models are made by people—not generative AI. Download the smallest classroom-ready resolution, then preserve its source record beside your project.
Photoscanned, seamless PBR materials with base color, roughness, normal, and displacement maps. Choose 1K for a first classroom test.
Browse public-domain textures ↗Photographic 360° environments for world lighting in any 3D app or engine: reflections, and sky backgrounds. Start at 1K or 2K while learning.
Browse public-domain HDRIs ↗Human-authored and photoscanned models for set dressing and material study. Inspect polygon count, scale, and texture size before importing.
Browse public-domain models ↗Game-ready characters, animation libraries, props, and environment kits. This pathway’s rigging simulator already uses its CC0 Universal Base Character.
Browse CC0 game assets ↗Free, fast, and professional apps
Paint directly on models, build procedural shaders, bake maps, unwrap UVs, and test the exact material on the final mesh. Best no-cost choice when one app must cover the full pipeline.
Open Blender’s official site ↗A focused, open-source node editor for procedural PBR materials. Its community library and Godot-ready exports make it an unusually fast way to learn tiling materials.
Try Material Maker ↗A specialist production tool for layer-based 3D painting, masks, smart materials, baking, and engine export. Choose it when many detailed assets need a consistent professional texturing workflow.
Explore Painter ↗Turns photographs and scans into editable material starting points. It is the paid fast lane when the goal is to capture a real wall, fabric, wood, or floor rather than invent one from zero.
Explore Sampler ↗Pricing and plan limits change. Follow the official links before purchasing; the free choices are capable of professional output, while paid tools mainly buy specialization, libraries, automation, and team workflow.
Definition of done
0/5 checked
You have a reusable surface for the room kit.
Technical references: Blender Manual: Principled BSDF · Godot: StandardMaterial3D · Adobe material channels.