Mask and expose
Artists controlled which part of an image reached the final surface and for how long.
Start with the editable technique workshop above. Reuse your model in the next lesson. The detailed walkthrough below uses Blender; choose another app using Tool Rosetta and the transfer checklist above.
Compositing Workspace · 45–60 minutes · Grades 8–12
F12 gives you one flat image. The Compositor is a second node graph — this one working on that rendered image, not the 3D scene — where you grade color, add glow, and combine renders before anything is called finished.
Finish line: a render graded with Color Balance and Glare, previewed with a Viewer node, saved as a second, finished image.
From layered exposure to node graph
Photographers and filmmakers used multiple exposures, mattes, optical printers, filters, and darkroom timing to combine and grade images. Digital compositing represents those choices as repeatable operations: bring an image in, transform or mix it, inspect the result, and send it out.
Artists controlled which part of an image reached the final surface and for how long.
Mattes and optical printers layered separately photographed elements into one shot.
A graph preserves every input and correction, making the finishing process editable and repeatable.
Trace the evidence: If the final image looks wrong, which node lets you identify where the change first appeared?
Technique source: Blender Manual: compositing assembles and enhances images
Workspace
A node graph for the finished image
Click the Compositing tab. If the node graph is empty, the header's Use Nodes checkbox turns it on — Blender starts you with a default Render Layers node already wired to a Composite node.
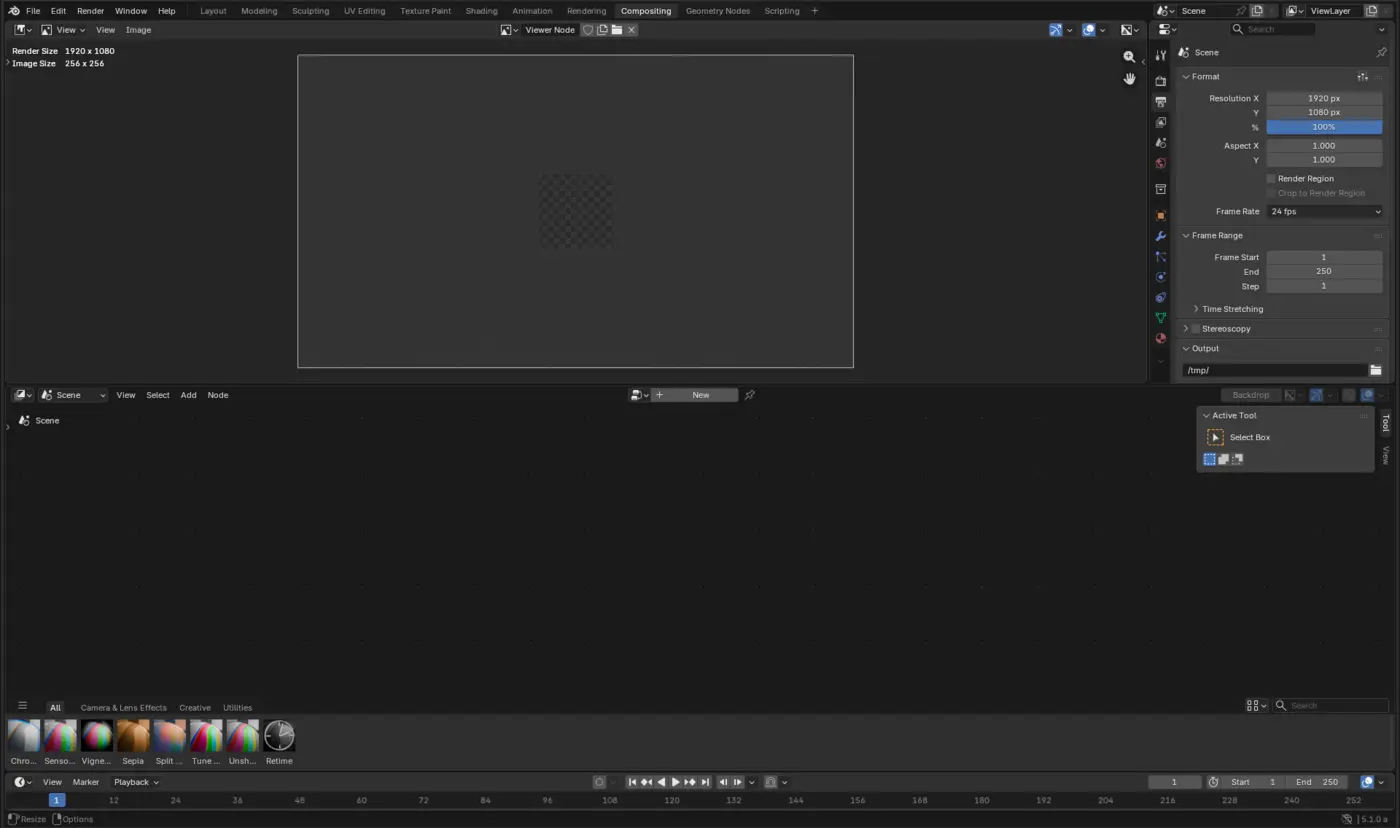
Layers & Viewer
Three nodes you'll always have
The input
The rendered image and its passes — Alpha, Z-depth, and any Cryptomatte mattes you enabled in Render Properties.
The final output
Whatever reaches this node is what gets saved when you render — this is the graph's actual destination.
A free preview
Connect any node to a Viewer to preview it in the image area, without changing what Composite outputs.
Shift+A → Output → Viewer, or hold Ctrl+Shift and click any node to wire a Viewer to it instantly.
The node editor's Backdrop toggle in the header shows the Viewer's current image behind the nodes themselves.
Common nodes
A small toolkit covers most grading
Color grade
Pushes shadows, midtones, and highlights toward different colors — the same lift/gamma/gain grading photographers use.
Bright-area glow
Adds bloom, streaks, or a fog glow around the brightest parts of a render — Fog Glow is the most forgiving starting mode.
Soften
Softens an image or a single channel — useful for depth-of-field effects driven by the Z-depth pass.
Layer two images
Composites one image over another using alpha transparency — a logo over a render, or two separate renders combined.
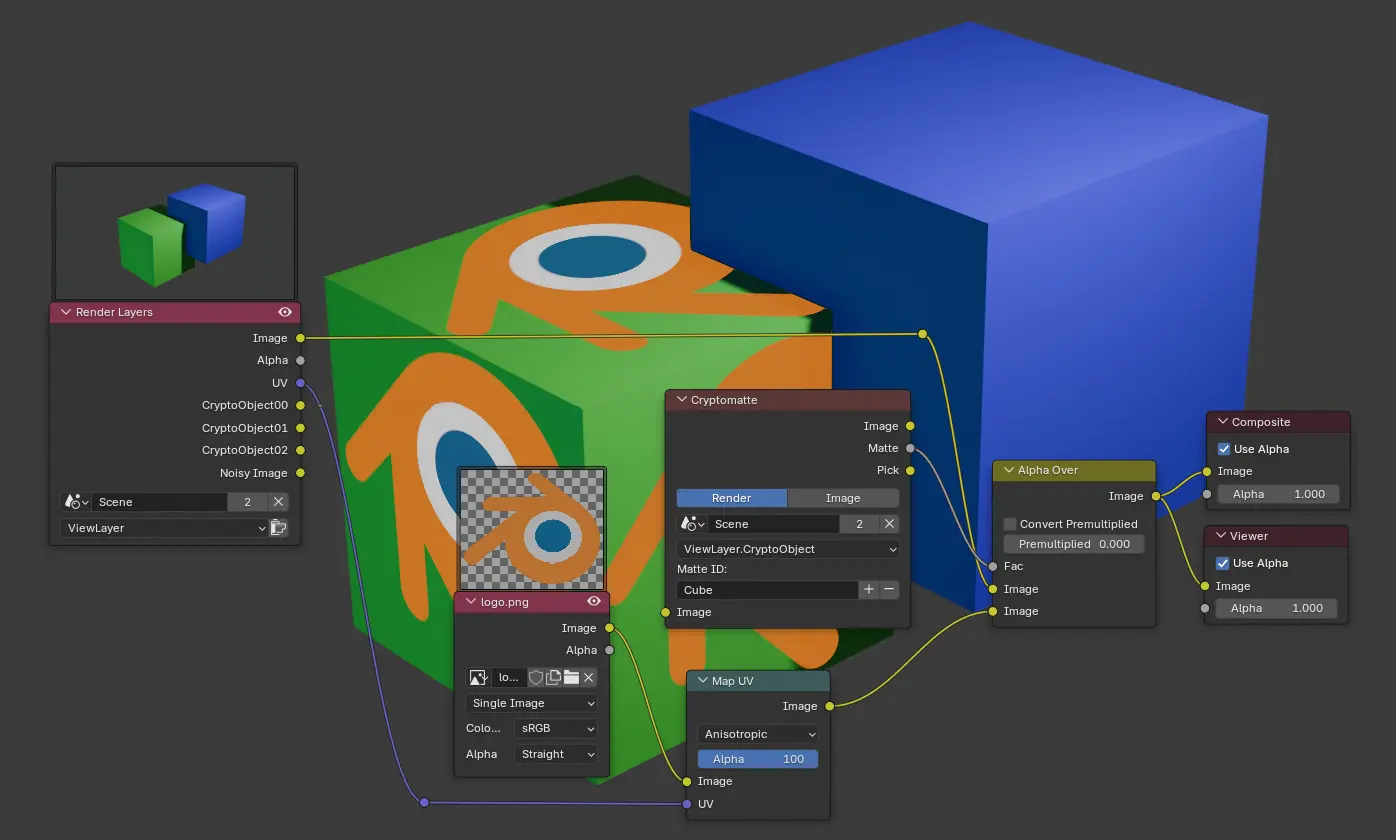
Build
Hands on
Use the lit, materialed object from Materials, Lighting & Render, or any scene with a camera and at least one light. Press F12.
Click the Compositing tab; turn on Use Nodes if the graph is empty.
Shift+A → Filter → Glare, wired between Render Layers and Composite. Set Glare Type to Fog Glow and lower Threshold until only the brightest areas bloom.
Shift+A → Color → Color Balance, after Glare in the chain. Nudge Gain slightly toward one color for a deliberate mood.
Wire a Viewer to the end of the chain to confirm the look, then press F12 — the graded version is what saves now.
Image → Save As in the Image Editor, with a filename that makes clear this is the graded version.
Check