Build this website with blocks
Try another way to build: snap together HTML, CSS and behavior blocks, change their fields, and watch your website update. Start with this lesson’s project or try a code example below.
Want to keep what you build? Web Studio holds a drawing, blocks and code in one project that you can share on the class site and publish as your own website.
Build a Home for Interactive Work
The last lesson ended with a plugin being switched off. This one starts where it left off: the browser itself is now the runtime. You are going to learn the machinery underneath every game and simulation — a loop, some state, and a drawing surface — and then how to give your creations a permanent address on your own site.
Work through the two labs on this page first. Then copy the code blocks into your own project folder and make them yours.
What you will be able to do
- Write an animation loop that runs at the same speed on any machine.
- Explain why you multiply movement by delta time.
- Draw to a
<canvas>and keep state separate from drawing. - Add controls a person can actually use — including without a mouse.
- Put a finished creation in its own folder, link it, document it, and credit it.
A game is state, events, and feedback
Before any animation, get the smallest possible version straight. Every interactive thing you will ever build has the same three parts:
- State — the facts the program is currently holding. A score. A position. Whether it is paused. State is just variables.
- Events — moments when something happens. A click, a key, a slider drag, a frame of the loop ticking over. Events change state and nothing else.
- Feedback — how the person finds out the state changed. Text on the screen, a drawn shape, a sound. Feedback reads state; it never invents state.
Keep those separate and your projects stay fixable. Mix them together — a click handler that quietly draws something, a drawing function that also adds to the score — and by week three you will not be able to find your own bug.
Lab A: score, event, readout
This lab has no animation at all. One variable, one click event, one line of feedback. Press the button five times, then reset.
Star counter
Stars collected: 0
Check: the count goes up by exactly one per press, the readout says "Stars collected: 5" after five presses, and Reset puts it back to "Stars collected: 0".
Look closer: the collect button also changes its own label as the count goes odd and even. Reset puts the number back to zero but leaves the button wearing whatever label it last had. That is a common bug in interactive projects: a reset that restores part of the state and forgets the rest. When you write your own reset, list every piece of state on paper first, then set them all.
The whole lab in JavaScript is about this small:
let score = 0;                                    // state

const button = document.getElementById('collect-star');
const readout = document.getElementById('star-score');

button.addEventListener('click', () => {          // event
  score = score + 1;                              // change state
  readout.textContent = 'Stars collected: ' + score;   // feedback
});
Notice that the readout is a normal paragraph with aria-live="polite", so a screen reader announces the new number when it changes. You get that for free with text. You will not get it for free from a canvas, which is the next problem to solve.
The loop, and why delta time exists
Animation is not a special feature of the browser. It is you, redrawing the screen slightly differently many times a second. The browser gives you one function for this: requestAnimationFrame. You hand it a function, it calls that function right before the next screen refresh, and you ask again.
Here is the version almost everyone writes first. It is broken, and the reason is worth understanding properly:
// BROKEN: moves 2 pixels per FRAME.
let x = 0;

function frame() {
  x = x + 2;
  draw();
  requestAnimationFrame(frame);
}
requestAnimationFrame(frame);
A frame is not a fixed unit of time because different displays refresh at different rates. On an ordinary 60 Hz display, this function executes 60 times a second; therefore, it moves 120 pixels per second. On a 120 Hz gaming laptop or modern phone screen, the browser requests 120 frames per second, which causes the exact same object to move at 240 pixels per second — twice as fast. Conversely, on a machine struggling at 30 frames per second, movement slows to a crawl. As a result, jump heights, collision timings, and game difficulty fluctuate wildly depending on whose computer runs the code. You cannot balance or debug a simulation under those conditions.
The mechanism that solves this is delta time: measure how many seconds actually elapsed since the previous frame, and multiply every movement by that duration. This means you specify speeds in pixels per second, which is an invariant physical unit that behaves identically everywhere.
// CORRECT: moves 120 pixels per SECOND on any machine.
let x = 0;
const SPEED = 120;        // pixels per second
let last = null;

function frame(now) {     // the browser passes a timestamp in milliseconds
  if (last === null) last = now;
  let dt = (now - last) / 1000;   // seconds since the previous frame
  last = now;

  if (dt > 0.05) dt = 0.05;       // safety clamp, explained below

  update(dt);
  draw();
  requestAnimationFrame(frame);
}
requestAnimationFrame(frame);

function update(dt) {
  x = x + SPEED * dt;             // distance = speed × time
}
On a 60 Hz screen dt is approximately 0.0167 seconds, so each frame adds 120 × 0.0167 = 2 pixels. At 120 Hz dt is approximately 0.0083 seconds, so each frame adds only 1 pixel — but because there are twice as many frames per second, the total distance traveled over one second is identical. Therefore, high-refresh screens gain visual smoothness without altering game physics. That is the entire idea.
Why clamp dt: if someone switches tabs for thirty seconds, the next frame arrives with a dt of 30. Without a clamp your ball teleports 3,600 pixels through a wall in a single step. Capping dt at something like 0.05 seconds means a long pause makes the simulation briefly run slow instead of exploding. The lab below uses exactly this clamp.
The rule to memorize: anything that should happen "per second" gets multiplied by dt. Movement, rotation, fuel drain, spawn timers. Anything that is a one-off event — a click, a collision, a level change — does not.

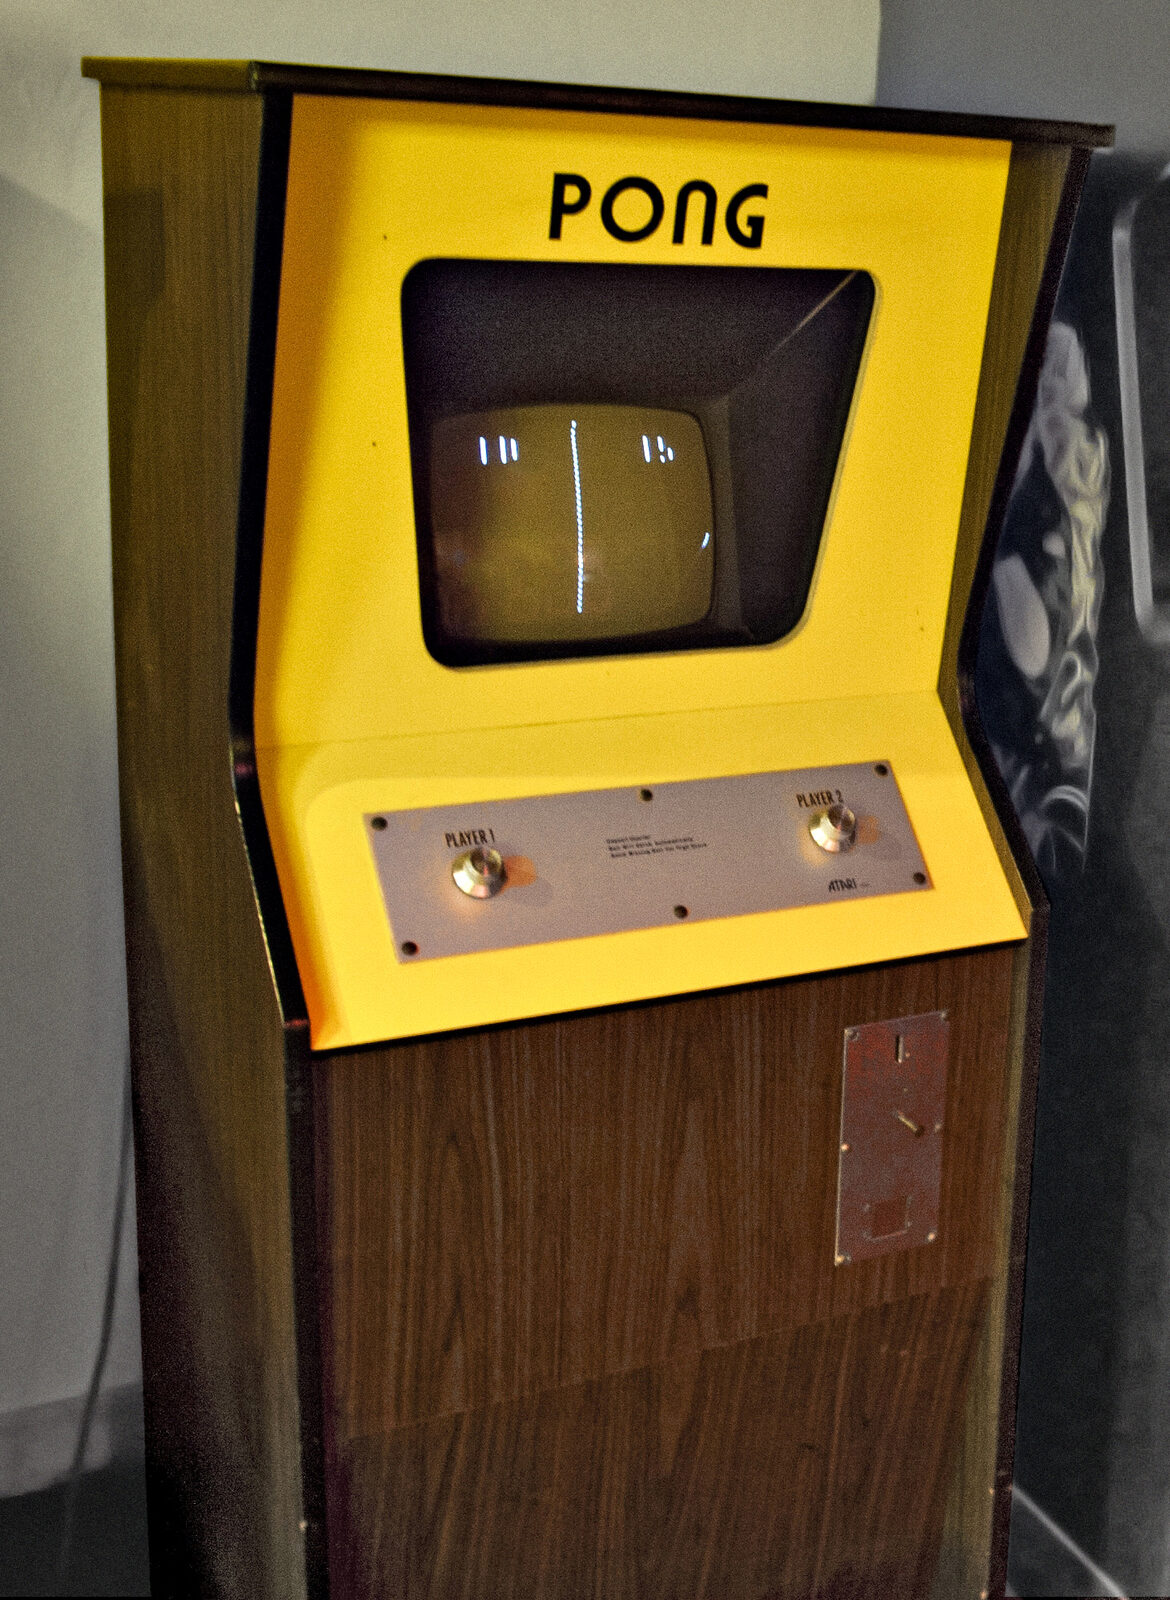
requestAnimationFrame loop and delta-time simulation. Credit: Kenneth Lu / Wikimedia Commons · CC BY 2.0 · source 
<canvas> 2D context. Credit: ClassroomOS archive collection Canvas: a drawing surface with a context
<canvas> is one HTML element that gives you a rectangle of pixels. The element itself draws nothing. You ask it for a context — an object holding the drawing commands — and every shape you want comes from calling methods on that object.
<canvas id="stage" width="640" height="240"></canvas>const canvas = document.getElementById('stage');
const ctx = canvas.getContext('2d'); // the 2D drawing context
ctx.fillStyle = '#2455a6'; // set a colour, then draw
ctx.fillRect(20, 20, 100, 60); // x, y, width, height
ctx.beginPath(); // circles need a path
ctx.arc(300, 120, 40, 0, Math.PI * 2); // x, y, radius, start, end
ctx.fill();
ctx.clearRect(0, 0, canvas.width, canvas.height); // wipe everythingThree things trip people up. First, coordinates start at 0, 0 in the top left, and y grows downward — bigger y means further down the screen. Second, the width and height attributes on the element set how many pixels the canvas actually has; setting the size in CSS instead just stretches those pixels and makes everything blurry. Third, canvas does not remember shapes. Once drawn, a circle is just coloured pixels — there is no object to move. To animate, you clear the whole canvas and draw the new frame from scratch, every frame.

requestAnimationFrame) redraw canvas pixels 60 times a second using this exact sequential frame principle. Credit: Eadweard Muybridge / Library of Congress / Wikimedia Commons · Public domain · source 

<canvas> 2D rendering context directly standardizes Shoup's framebuffer graphics primitives inside every browser. Credit: Computer History Museum / Xerox PARC / Wikimedia Commons · Public domain · source 
Lab B: a real loop with real controls
Now put it together. The dot below is drawn by a loop using delta time, its speed comes from the slider, and the line under it is the accessible readout.
Motion lab
Check: press Start and the dot moves left to right, wrapping around when it reaches the end. The button changes to Pause. Drag the slider to 400 and the dot visibly speeds up; the number beside the label follows the slider immediately. The status line reports the state roughly once a second while running, and immediately when you press a button or move the slider. Reset distance sets the distance back to 0 without stopping the animation.
Repair: a completely blank box means the drawing code never ran — check the console for an error, and confirm sim-kit.js loaded before the lab script. A dot that never moves usually means the loop is running but the state is not changing: press Start again and watch whether the status line says "Running" or "Paused". If the numbers move but nothing is drawn, your draw() is reading different variables than your update() is writing.
Why the canvas is marked aria-hidden
The canvas on this page carries aria-hidden="true", and the status line under it is the accessible equivalent of the animation. A screen reader cannot see a canvas — to assistive technology it is one blank rectangle, no matter how much is happening inside it. So the moving dot is treated as decoration, and everything it communicates is also written in text: whether the simulation is running, how far the dot has travelled, and how fast it is going. Anyone who cannot see the animation can still read the same facts, use the same buttons, and get the same result.
That is the pattern to copy: a canvas is never the only place your information lives.
The three-part structure to copy
Here is a complete, working file skeleton. Every simulation you build in this course should look like this: update(dt) changes state, draw() renders state, and the loop calls both in that order. Nothing draws outside draw(), and nothing changes state inside draw().
<canvas id="stage" width="640" height="240"></canvas>
<div>
  <button type="button" id="toggle" aria-pressed="false">Start</button>
  <label for="speed">Speed in pixels per second: <span id="speed-value">120</span></label>
  <input type="range" id="speed" min="10" max="400" value="120">
</div>
<p id="status" aria-live="polite">Paused. Position: 20 pixels.</p>
<script src="game.js"></script>
// game.js — state, update, draw, loop. In that order.
const canvas = document.getElementById('stage');
const ctx = canvas.getContext('2d');
const status = document.getElementById('status');
const speedInput = document.getElementById('speed');
const toggle = document.getElementById('toggle');
// 1. STATE — every fact the program holds, in one place.
const state = {
x: 20,
y: 120,
speed: 120, // pixels per second
direction: 1, // 1 = right, -1 = left
running: false
};
// 2. UPDATE — changes state. Draws nothing.
function update(dt) {
if (!state.running) return;
state.x = state.x + state.speed * state.direction * dt;
if (state.x > canvas.width - 16) { state.x = canvas.width - 16; state.direction = -1; }
if (state.x < 16) { state.x = 16; state.direction = 1; }
}
// 3. DRAW — reads state. Changes nothing.
function draw() {
ctx.clearRect(0, 0, canvas.width, canvas.height);
ctx.fillStyle = '#2455a6';
ctx.beginPath();
ctx.arc(state.x, state.y, 16, 0, Math.PI * 2);
ctx.fill();
}
// 4. LOOP — calls update, then draw. Forever.
let last = null;
function frame(now) {
if (last === null) last = now;
let dt = (now - last) / 1000;
last = now;
if (dt > 0.05) dt = 0.05;
update(dt);
draw();
SimKit.frame('#stage', frame);
}
SimKit.frame('#stage', frame);
// 5. CONTROLS — events change state and report it. They never draw.
function report() {
status.textContent = (state.running ? 'Running' : 'Paused')
+ '. Position: ' + Math.round(state.x) + ' pixels.'
+ ' Speed: ' + state.speed + ' pixels per second.';
}
toggle.addEventListener('click', () => {
state.running = !state.running;
toggle.textContent = state.running ? 'Pause' : 'Start';
toggle.setAttribute('aria-pressed', String(state.running));
report();
});
speedInput.addEventListener('input', () => {
state.speed = Number(speedInput.value); // value is a STRING — convert it
document.getElementById('speed-value').textContent = speedInput.value;
report();
});
report();Two details in there are worth stealing. Number(speedInput.value) matters because an input's value is always a string: without the conversion, state.x + "200" * dt gives you nonsense or NaN. And report() is called from every control and once at the start, so the status line is never blank and never stale.
Debug rule: when a simulation misbehaves, ask one question first — is this an update bug or a draw bug? Temporarily print the state to the status line. If the numbers are wrong, the bug is in update(). If the numbers are right but the screen is wrong, the bug is in draw(). That single question halves the search every time.
Honest limits of a canvas project
A canvas game is not automatically usable by everyone, and no library fixes that for you. If you publish an interactive project, provide all of these alongside it:
- Written instructions in HTML — the goal, the rules, and every control, in text on the page. Not in an image, not only inside the game.
- A status line with
aria-live="polite"reporting score, lives, level, and win or lose. This is the text equivalent of what the canvas shows. - Keyboard controls. A canvas cannot be tabbed to or clicked meaningfully by keyboard on its own. Listen for
keydownon the document, or give the canvastabindex="0"and listen on it, and say in your instructions which keys do what. Never build a game that requires dragging a mouse and nothing else. - A pause. Some people need to stop and come back. A pause button also makes your project testable.
- Respect for reduced motion. If someone's system asks for less animation, honour it: check
window.matchMedia('(prefers-reduced-motion: reduce)').matchesand start paused or tone the motion down.
Say plainly what your project cannot do, too. A browser game running from plain files has no server: it cannot store a shared high-score table that other people see, it cannot verify who is playing, and anything it "saves" lives only in that one browser on that one device. Claiming otherwise on your site is the kind of thing that gets found out in about ten seconds.
Give your creation a home on your site
You now have something that runs. Here is how it becomes part of your website instead of a file on your desktop.
- One folder per creation. Every project gets its own directory with its own
index.html. That keeps names from colliding and lets you move or delete the whole thing in one action. - Keep its files together. The HTML, CSS, JavaScript, and art for a project live inside that folder so relative links keep working. A link like
art/ship.pngsurvives being moved;C:\Users\me\Desktop\ship.pngdoes not, and neither does a path that reaches up out of the folder into somewhere else on your site. - Link it from a hub page. One page —
projects.htmlorcreations.html— lists every creation with a real, descriptive link. "Star Runner — a canvas game" is a link; "click here" is not. - Write the controls down on the project page itself. Assume the reader has never seen it and nobody is sitting beside them.
- Credit everything you did not make. Art, sound, fonts, code you adapted from a tutorial. Name the creator, link the source, and say what the licence permits. Last lesson's rule applies here: being able to open a file is not permission to publish it.
my-site/
  index.html
  projects.html          <-- the hub page that links to each creation
  style.css
  games/
    star-runner/
      index.html         <-- the game's own page
      style.css
      game.js
      README.md          <-- what it is, how to run it, controls, credits
      art/
        ship.png
<!-- in projects.html -->
<article>
<h2><a href="games/star-runner/index.html">Star Runner</a></h2>
<p>A canvas game about dodging asteroids. Arrow keys to move, P to pause.</p>
<p>Ship art by me. Sound effect by A. Composer, used under CC BY 4.0.</p>
</article>If you would rather show a project inside another page than link straight to it, an <iframe> works and it needs a title attribute so people using a screen reader know what the frame contains: <iframe src="games/star-runner/index.html" title="Star Runner game"></iframe>. Linking directly is usually kinder — the game gets the whole window.
That README.md is not busywork. It is the documentation from the preservation lesson, in the place it belongs: beside the files, in plain text, readable in twenty years by someone who has never met you.