


Sticks
Usually hickory, about 16 inches long. The thick end (the butt) hits harder, the tip makes a clear ping on cymbals.
Build
Compose a groove
The grid below has 16 steps, one bar in sixteenth notes. Fill in hi-hat, snare and kick to make a groove, or load a starter and change it. The notation above the grid updates every time you click. When you like a groove, press Add to homework sheet: it joins a printable handout with the count line, a tempo ladder and a practice log. Try moving one kick note and hear how the feel changes.
Every groove you add lands here, one sheet per student. Edit the title and note, pick how it is counted, then print a handout with notation, a count line, a tempo ladder, a practice log and a QR code that opens the groove on a phone.
Drum Lab All ages · 60–90 min
Learn the kit, follow drum notation, and hear how a beat is built one strike at a time.
Practice at your level
Start where you can keep a steady pulse. Each level has three exercises, a composition task and a practice log. Use a pad or tabletop for hand work; tap your foot for kick notes.
Portrait · US Letter or A4 · 100% scale · turn off browser headers and footers. Preview below matches the worksheet content.
Use a practice pad, a tabletop, or the on-screen kit. Wear earplugs on a real kit.
Advance rule: three clean repetitions, then add 5 BPM. If the beat wobbles twice, take 5 BPM off. Never trade steady time for speed.
Parts
Meet the kit
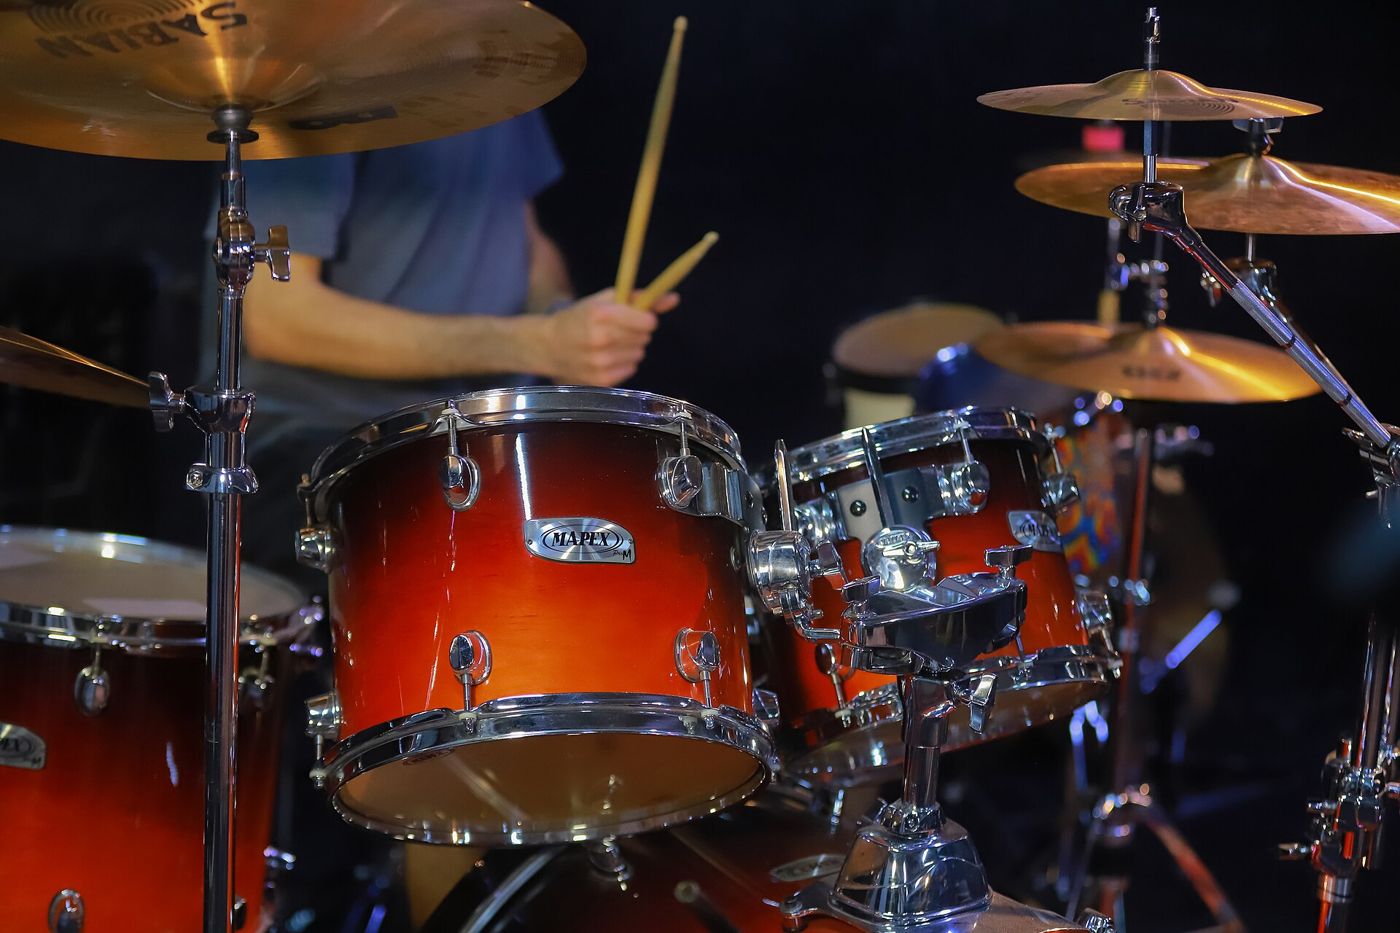
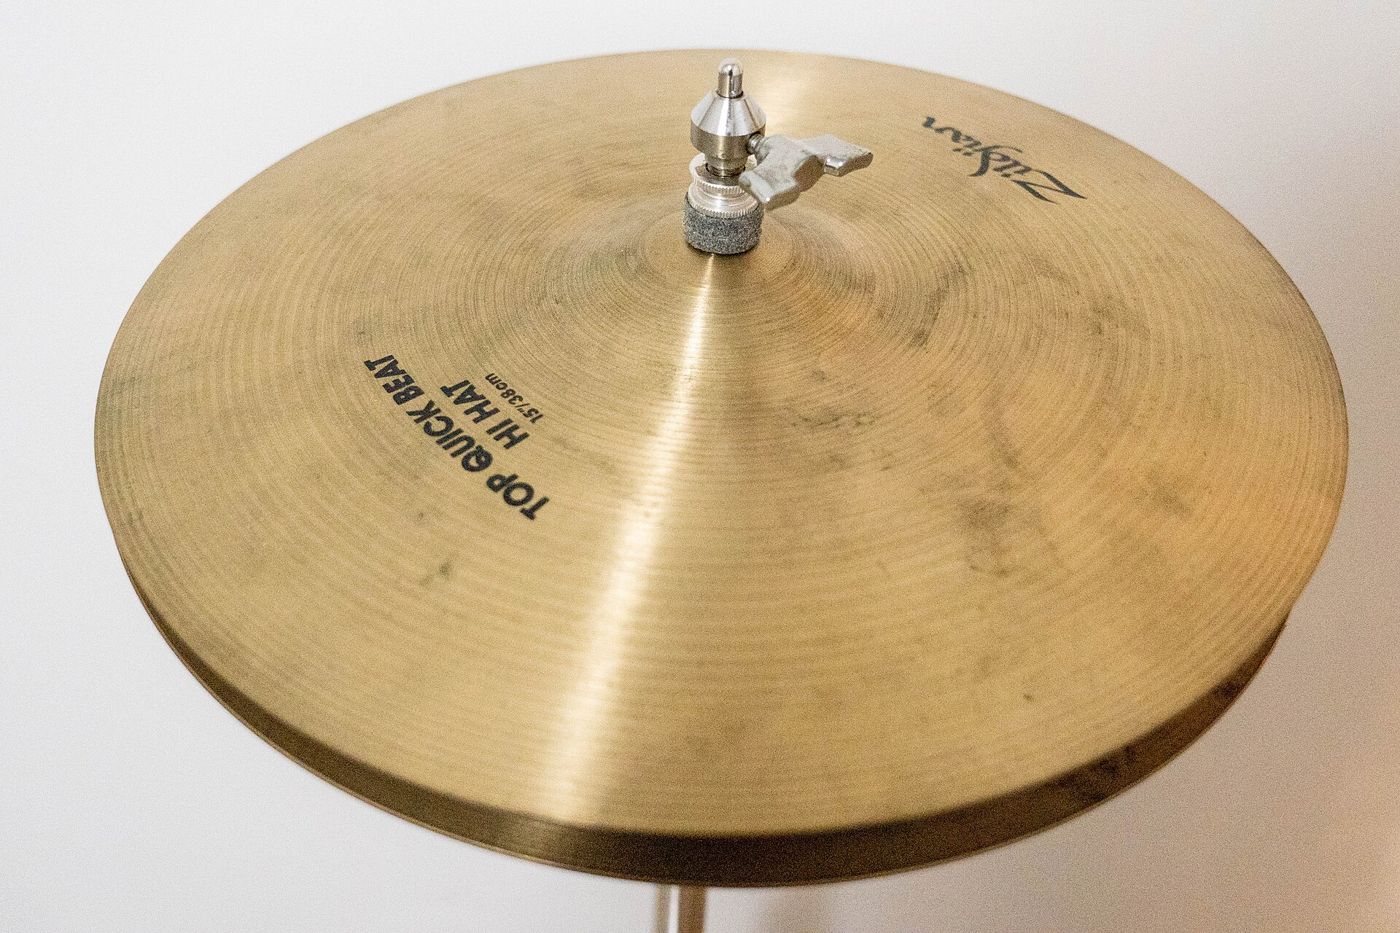
A standard rock kit has five drums and three cymbals. Drums make a sound when a stretched head vibrates, and cymbals ring because a thin metal plate shimmers. Click any part to hear it and learn what it does.
3D preview needs WebGL, which is not available here. Use the buttons below to hear and learn each part.
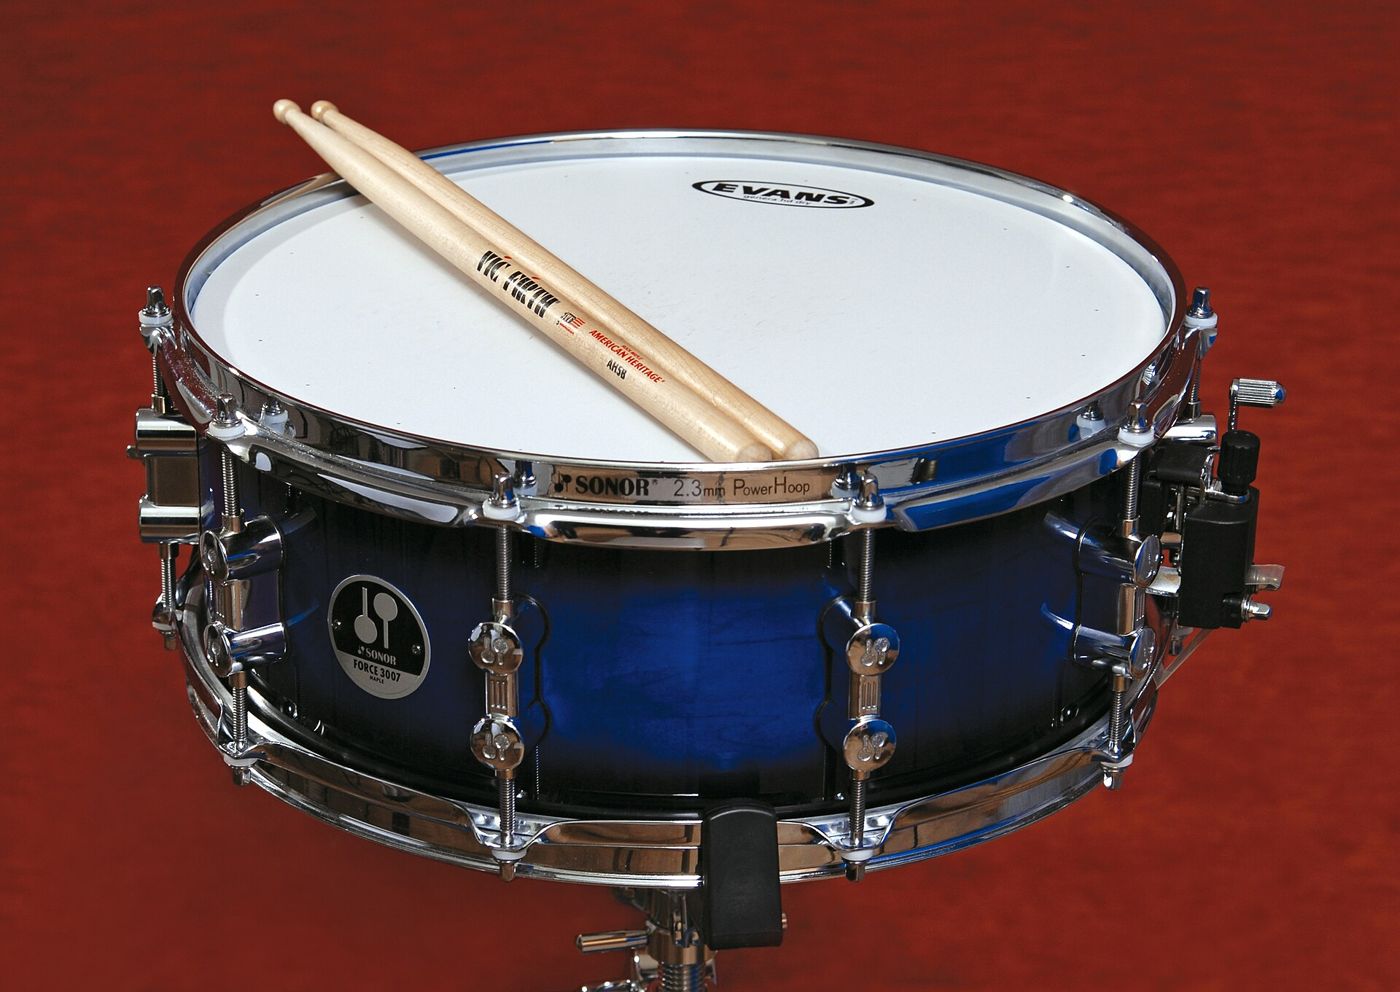
Every drum, from the smallest tom to the biggest bass drum, is built from the same few parts. Click the numbers on the cutaway of a snare drum (or the buttons) to learn what each part does.
Tightening the tension rods stretches the head, which makes it vibrate faster, and faster vibration means a higher pitch. Drag the slider to change the head tension of this tom, then hit it. (The same physics is explored in Physics of Music.)
Usually hickory, about 16 inches long. The thick end (the butt) hits harder, the tip makes a clear ping on cymbals.
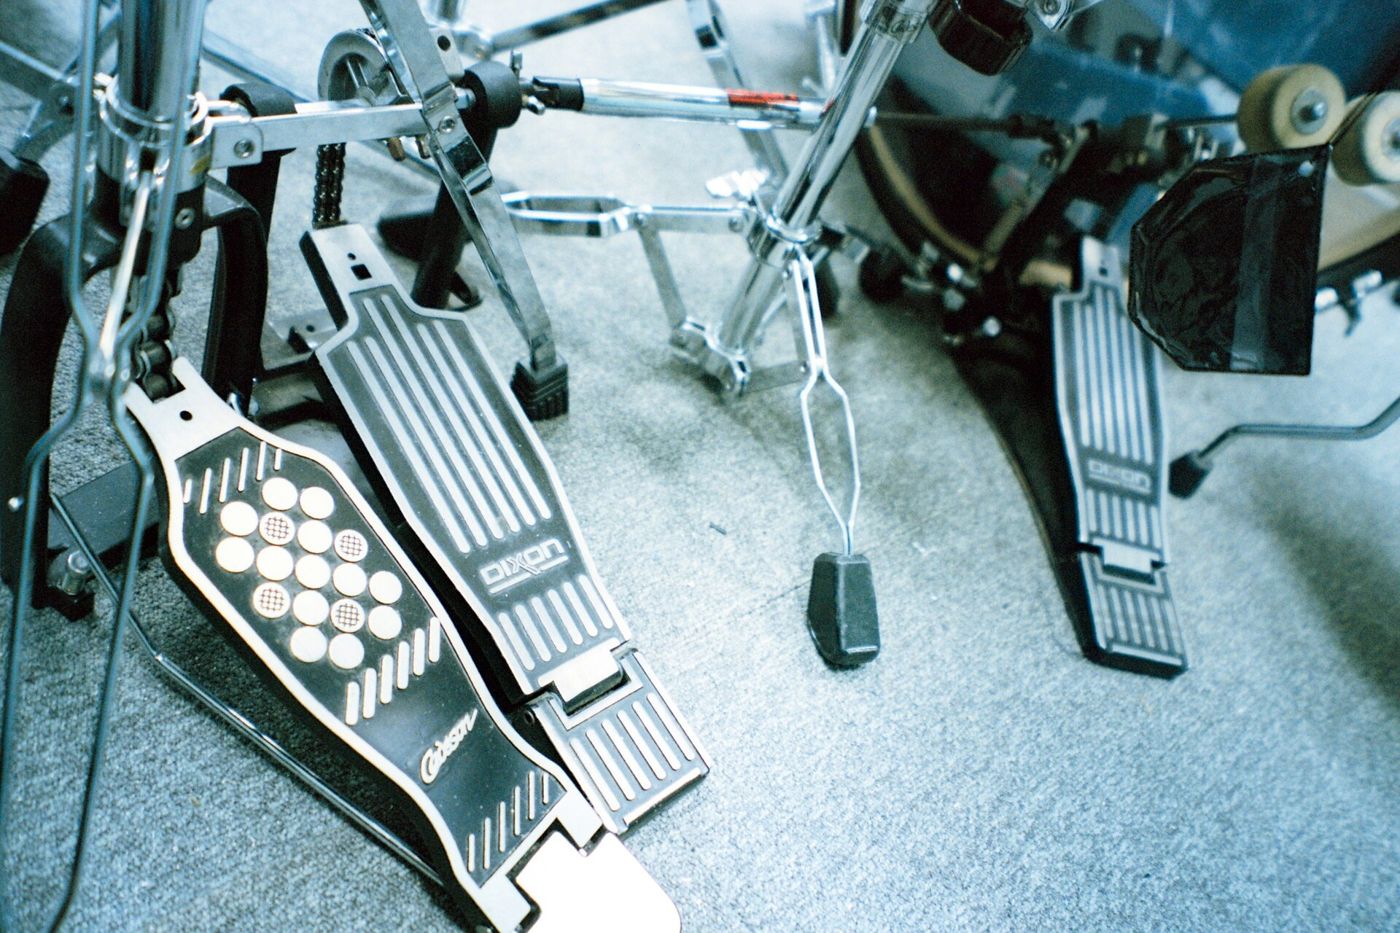
Your foot pulls a felt beater into the drum head. Heel-up or heel-down, both work.
The throne is the adjustable stool. The drum key turns tension rods to tune the drums.
Set up
Get ready to play
At any age
Good drumming starts before the first hit. A comfortable setup lets your arms and feet move freely, and a loose grip lets the stick do half the work.
Adjust the throne so your thighs are level or slope slightly down toward your knees. Sit near the front edge, centered on the snare, with a tall back and loose shoulders.
Right foot on the bass drum pedal, left foot on the hi-hat pedal. Both should reach without stretching. Left-handed drummers often set the whole kit up mirrored.
Both hands hold the sticks the same way. Pinch each stick between the thumb and the first joint of the index finger, about a third of the way up from the butt end. That pinch is the fulcrum. The other fingers wrap loosely and the palms face down.
Lift the stick, let it fall, and let it bounce back to where it started. Squeezing kills the bounce and tires your hand. Hit the centre of the snare head for a full, round sound.
Protect your ears: an acoustic kit is often louder than 100 decibels at the throne, and hearing damage is permanent. Wear earplugs made for musicians whenever you play a real kit.
Ready to continue? On a pad, a tabletop or the snare, play R L R L as four even strokes at a slow count. Every stroke should bounce back to the same height and sound the same.
Technique
Hands, feet and sound
Work through these ten steps in order over several practice sessions. Start at 60 BPM, or slower if needed. Use a pad for hand exercises and a real kit for pedal and sound comparisons. The on-screen players model rhythms; they cannot check your grip, motion or acoustic tone. Keep movements comfortable and stop if anything hurts.
Use stick height to prepare the next note.
Practice: At 60 BPM, play four right-hand eighth notes: down, tap, tap, up. Accent only the first. Repeat with the left, then alternate hands.
Ready to move on: The accent sounds clear, the other three notes stay quiet, and your shoulders stay relaxed.
Make the pedal return before the next hit.
Heel-down: rest your heel on the footboard and move from the ankle. Heel-up: raise the heel slightly and use a relaxed leg-and-ankle motion with the ball of the foot on the board. Sit balanced on the throne. For this exercise, let the beater rebound from the head after each hit; avoid holding it there.
Practice: At 60 BPM, play kick on 1, 2, 3, 4 for four bars with each approach. Then play two even hits on 1 & and 3 &, leaving beats 2 and 4 empty. Keep each pair the same volume.
Ready to move on: Both approaches produce controlled notes without rocking your body or tensing your leg.
Your other foot can keep time and shape the sound.
Press the pedal to bring the cymbals together for a short chick. For an open-hat note, ease the pedal up slightly, strike the cymbal, then close at a chosen count to stop the ring. A kick hit does not physically close a real hi-hat: your hi-hat foot does that.
Practice: Count 1 & 2 & 3 & 4 & at 60 BPM. Play pedal chicks on 2 and 4 while tapping quarters with your hands. Next, strike an open hat on & of 4 and close it exactly on the next 1.
Ready to move on: The chick stays on time and the open note ends where you intended.
Two different motions make two different snare sounds.
Cross-stick: rest one end of the stick on the head, lay the stick across the drum, and lift and lower it to strike the rim for a woody click. Experiment with position to find a clear tone. Rimshot: strike the head with the tip and the rim with the shaft together for a sharp, full accent. Begin gently on a real snare; a tabletop cannot reproduce these sounds.
Practice: Play four bars with a normal snare on 2 and 4, then four with cross-stick. Separately try single, gentle rimshots with space between them. Listen for round snare, woody click, and bright crack.
Ready to move on: You can choose the sound deliberately without extra grip pressure.
Keep one part steady while another changes.
Independence means a changing part does not pull the other limbs out of time. Balance means choosing the volume of each instrument: a clear backbeat, quieter cymbals, and very soft ghost notes. Mirror the limb assignments if your kit is reversed.
Practice: At 60 BPM, play eighth-note hi-hat and snare on 2 and 4. Add kick on 1 and 3 for four bars, then add & of 3. Next move the cymbal hand to the ride and keep hi-hat-foot chicks on 2 and 4. Add only one limb at a time.
Ready to move on: The cymbal pulse stays even as the kick changes, and it does not cover the snare.
Fit three equal notes inside one beat.
Count triplets 1-trip-let, 2-trip-let, 3-trip-let, 4-trip-let. All three syllables are evenly spaced. A shuffle commonly plays the first and third parts of that triplet; practicing all three makes the spacing easier to feel.
Practice: Keep a foot tapping quarter notes at 60 BPM. Play one bar of eighths (1 &), one of triplets (1-trip-let), and one of sixteenths (1 e & a), alternating hands throughout. Repeat without changing the foot pulse.
Ready to move on: The beat lasts the same length through every subdivision; only the number of hand notes changes.
Turn sticking practice into musical choices.
Keep a sticking pattern intact while changing which surface each hand plays. This is orchestration. Begin on the snare, then move selected accents to toms or cymbals. Keep the unaccented notes low and quiet.
Practice: Play R L R R L R L L as sixteenths. First accent the start of each four-note group on the snare; then move those accents to a tom. Next put the right hand on closed hi-hat and the left on snare to hear a paradiddle groove. Play three bars of a familiar beat and one bar of the tom pattern.
Ready to move on: The sticking stays even and the next groove begins exactly on 1.
Separate controlled doubles from multiple-bounce rolls.
An open double-stroke roll has two distinct notes per hand. A buzz or multiple-bounce roll uses several rebounds per hand to create a sustained texture; use gentle finger control rather than forcing the stick into the head. For short open rolls, seven strokes are three doubles plus a final single; nine strokes are four doubles plus a final single.
Practice: Start slowly with RR LL, making the second note as clear as the first. Try seven strokes: RR LL RR L, then LL RR LL R. Try nine: RR LL RR LL R, then LL RR LL RR L. Separately alternate short buzzes on a pad and listen for an even texture.
Ready to move on: Open-roll notes remain distinct; buzzes overlap smoothly without wrist tension. Increase speed only when the sound stays even.
Choose the striking area and stick contact.
The ride bow gives a defined ping; the bell gives a brighter, more cutting tone. On closed hi-hat, the stick tip on top makes a lighter sound, while the shoulder near the edge makes a fuller sound. For a crash, use a relaxed glancing stroke across the edge and allow the cymbal to move instead of driving straight into it.
Practice: Play four slow quarter notes on each ride area, then compare four tip strokes and four shoulder strokes on a closed hat. Finish a quiet groove with one controlled crash on 1. Compare tone at a comfortable volume.
Ready to move on: Each sound is deliberate and the cymbal can swing freely after a crash.
Create a continuous sound as well as separate taps.
On a coated snare head, spread the wire brushes and sweep one hand in a relaxed circle to make a continuous swish. Let the other brush tap a pulse. Keep light contact and find a path that avoids collisions. A smooth tabletop or an on-screen pad will not reproduce a coated head’s brush texture.
Practice: At 60 BPM, sweep continuously with one hand while tapping quarters with the other. Change the taps to 2 and 4, then swap hand roles. Listen for an unbroken sweep beneath the taps.
Ready to move on: The sweep remains smooth while the tapping hand changes rhythm.
For the roll and rudiment progression, see the Percussive Arts Society’s 40 International Drum Rudiments. You do not need all 40 before making music.
Notation
Read the page
Drum music uses a five-line staff, but there are no pitches. Instead, each line or space is a different drum. Round note heads are drums, X heads are cymbals. Higher on the staff usually means higher on the kit. Click each note to hear its drum.
Feet are written with stems pointing down, hands with stems pointing up, so you can read both at once.
The two numbers at the start (like 4/4) say how many beats are in each bar. The repeat sign at the end says: play the bar again.
Time moves left to right. Notes stacked above each other are played at the same time.
Which drum is written here?
The shape of a note tells you its length. Beams join notes that share a beat. Under every note we print the count: say it out loud while you play. Press play, and the moving bar shows which count is sounding.
The two numbers at the start of a piece are the time signature. The top number says how many beats are in a bar; the bottom number says what kind of note gets one beat. Pick a meter below, press play, and count out loud with the light.
Not a time signature: a half-time feel makes a groove feel twice as slow without changing the tempo number, usually by moving the snare backbeat to beat 3 only. A double-time feel does the opposite: the same tempo suddenly feels twice as fast. Compare “Basic rock beat” and “Half-time feel” in the Beats section below to hear it.
Play this note louder than the ones around it.
Play it so quietly it is felt more than heard.
Open hi-hat: let the cymbals ring instead of closing them.
A grace note (flam or drag), played just before the main note.
Sticking: which hand plays each note. Orange = right, blue = left.
Two dots and a thick bar at the end: go around again.
Beats
Play along
Most beats share the same recipe: cymbal for the steady pulse, snare for the backbeat, and kick for the bottom. Pick a beat, press Play, and follow the moving bar while listening for how the three parts lock together. Slow the tempo down to practice, and turn on the click track to keep your own time.
Try this: tap the snare part on your desk while the basic rock beat plays. It should land on “2” and “4”, right where you would clap.
Backbeat
Move from listening to playing
Use the pads or the keyboard to play a small kit. First explore freely. Then start the challenge: the guide plays hi-hat on every beat and kick on beats 1 and 3. Your job is to land the snare on beats 2 and 4 for two bars.
Performance bench
Free play — make a groove with A, S, K and L.
You will hear a four-count before the groove starts.
Technique: keep tapping the hi-hat with K while the challenge runs if you want the harder version. The score only measures your snare timing.
Rudiments
Stick control
A rudiment is a short sticking pattern. Drummers practice them on a snare or a practice pad to build speed, control and even sound. The letters under the staff tell you which hand plays: R = right, L = left. Play slowly first, keep every note the same volume, and only speed up when it feels easy.
Read this like a page from a funk primer. Your hands keep one pattern, and each rung of the ladder changes exactly one thing: first the bass drum, then ghost notes, then the open hi-hat. The exercises are numbered straight through, from 1 to 68, and get a little harder each line. Play one exercise four times in a row while counting out loud, then move down. The last rung puts together only parts you have already played.
Start with exercise 1.
Feel: the page is written straight, like the method books. Swung sixteenths plays every “e” and “a” a little late (long–short), while the “&” stays on time: the lilt in a lot of New Orleans funk and hip-hop. It changes nothing on rungs 1 and 4, which have no sixteenth notes.
Hold the stick about a third of the way up from the butt, with a relaxed grip. It should be able to bounce.
Quiet notes stay low, loud notes start high. Full strokes rebound high; downstrokes finish low, taps stay low, and upstrokes prepare the next accent.
Play at 50 BPM until it is perfect, then add 5 BPM at a time. Speed comes from control.
Fills
Change it up
After playing the same groove for a few bars, drummers play a fill at the end of a phrase, usually on the last beat or two of the bar, to signal that something new is coming. Each example below is two bars: a groove, then a groove that ends in a fill. The fill resolves with a crash cymbal on beat 1 of the loop.
Listen for: the fill always starts on a number you can count (usually beat 3 or 4), and ends exactly on the next “1” with the crash and kick together.
Check
Show what you know
Standard five-drum, three-cymbal rock kit, notated in the common drum-staff convention (not a single official standard — some publishers vary drum placement slightly). Audio is synthesized, not sampled from a real kit. Rudiment names and stickings follow the widely used 40-rudiment list; this lesson covers a practical starting subset, not all 40.
Keep going
Take your groove into Music Lab, where you can layer it with synth sounds on a step sequencer, or trace the same drum patterns onto chords and melody in the piano and guitar lessons.